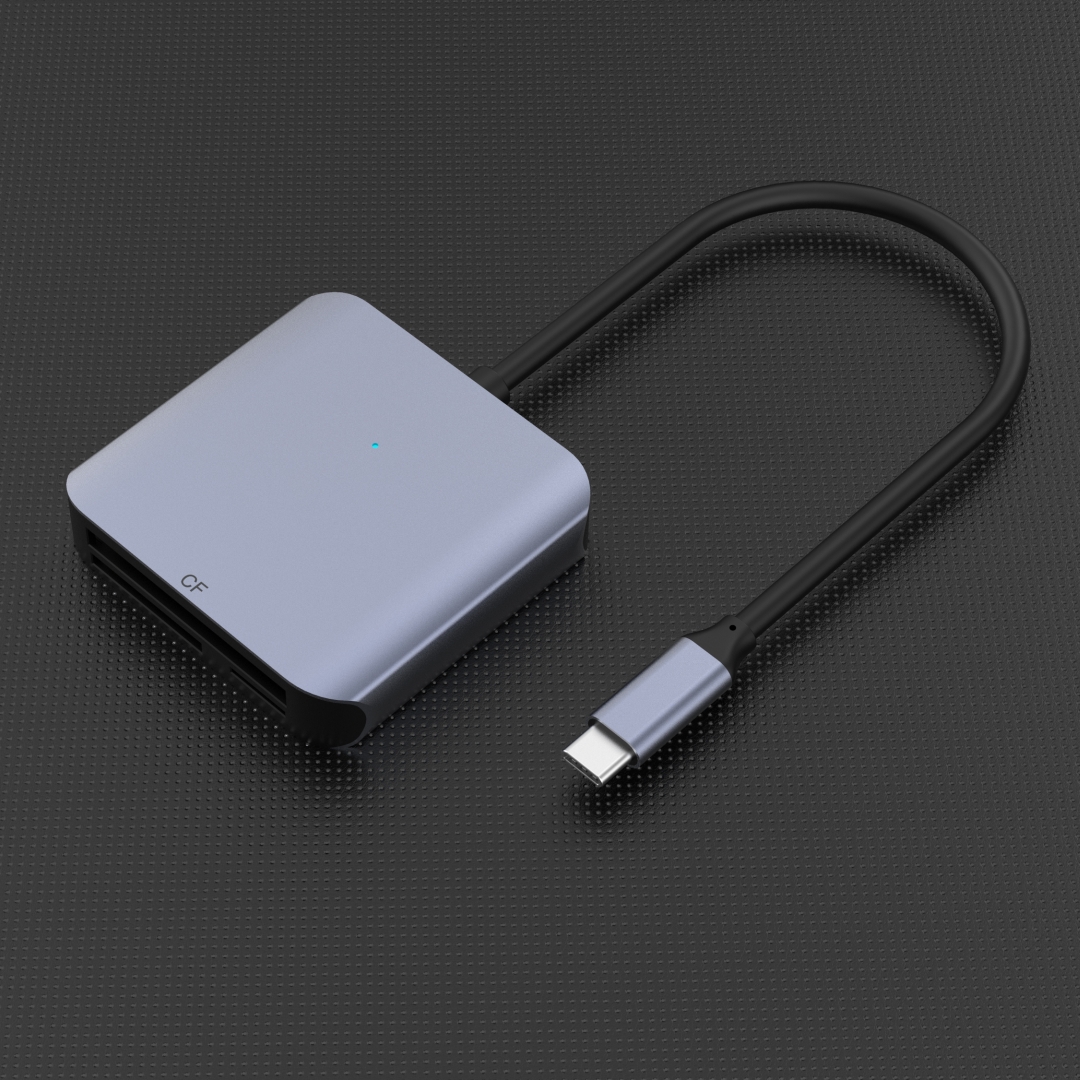
Getting Started: Understanding the Basics

Wiring your computer and hub is a crucial step in setting up a reliable network. Whether you are a beginner or an experienced user, it is essential to follow the correct procedures to ensure seamless connectivity. This guide will walk you through the process, offering detailed instructions and tips.
Step 1: Gather the Necessary Equipment
Before you start wiring, gather the required equipment, including Ethernet cables, a computer, a hub, and any necessary tools. Make sure the Ethernet cables are of suitable length to comfortably connect your devices without excessive tension or tangling.
Step 2: Positioning Your Hub
Find an appropriate location for your hub, ideally in a central area to minimize cable length. Ensure that the hub is easily accessible and properly ventilated to prevent overheating. Avoid placing the hub near sources of interference, such as microwave ovens or cordless phones, to maintain a stable connection.
Step 3: Connect the Hub to the Power Source
Using the provided power cable, connect the hub to a power outlet. Ensure the power source is stable and reliable, and try to avoid using power strips or extension cords to maintain consistent power supply.
Step 4: Connect the Ethernet Cables
Take an Ethernet cable and insert one end into an available port on the hub. Then, connect the other end to your computer's Ethernet port. Repeat this process for all the devices you plan to connect to the hub. Remember to use color-coded cables or label them appropriately to ensure easy identification.
Step 5: Test the Connection
Once all the cables are connected, power on your computer and hub. Confirm that the indicator lights on both devices are blinking, indicating an active connection. If any lights are not blinking, double-check the cables' connections and try reconnecting them.
Troubleshooting and Additional Tips
While wiring your computer and hub, you may encounter certain issues. Here are some troubleshooting tips:
Troubleshooting Tip 1: Check Cable Quality
Ensure that the Ethernet cables you are using are not damaged or faulty. Faulty cables can cause connectivity problems, so consider replacing them if needed.
Troubleshooting Tip 2: Restart Your Devices
If you experience connection issues, try restarting your computer and hub. This simple step often resolves minor connectivity problems.
Troubleshooting Tip 3: Update Network Drivers
Outdated or incompatible network drivers can also lead to connectivity issues. Check for driver updates on your computer's manufacturer website and install them if necessary.
Conclusion
Properly wiring your computer and hub is vital for establishing a stable network. By following the steps outlined in this guide and using the provided troubleshooting tips, you can ensure a seamless connection. Remember to double-check your cables, position your hub strategically, and stay updated with the latest drivers for optimal performance. Now, you are ready to enjoy a reliable and efficient network setup.


