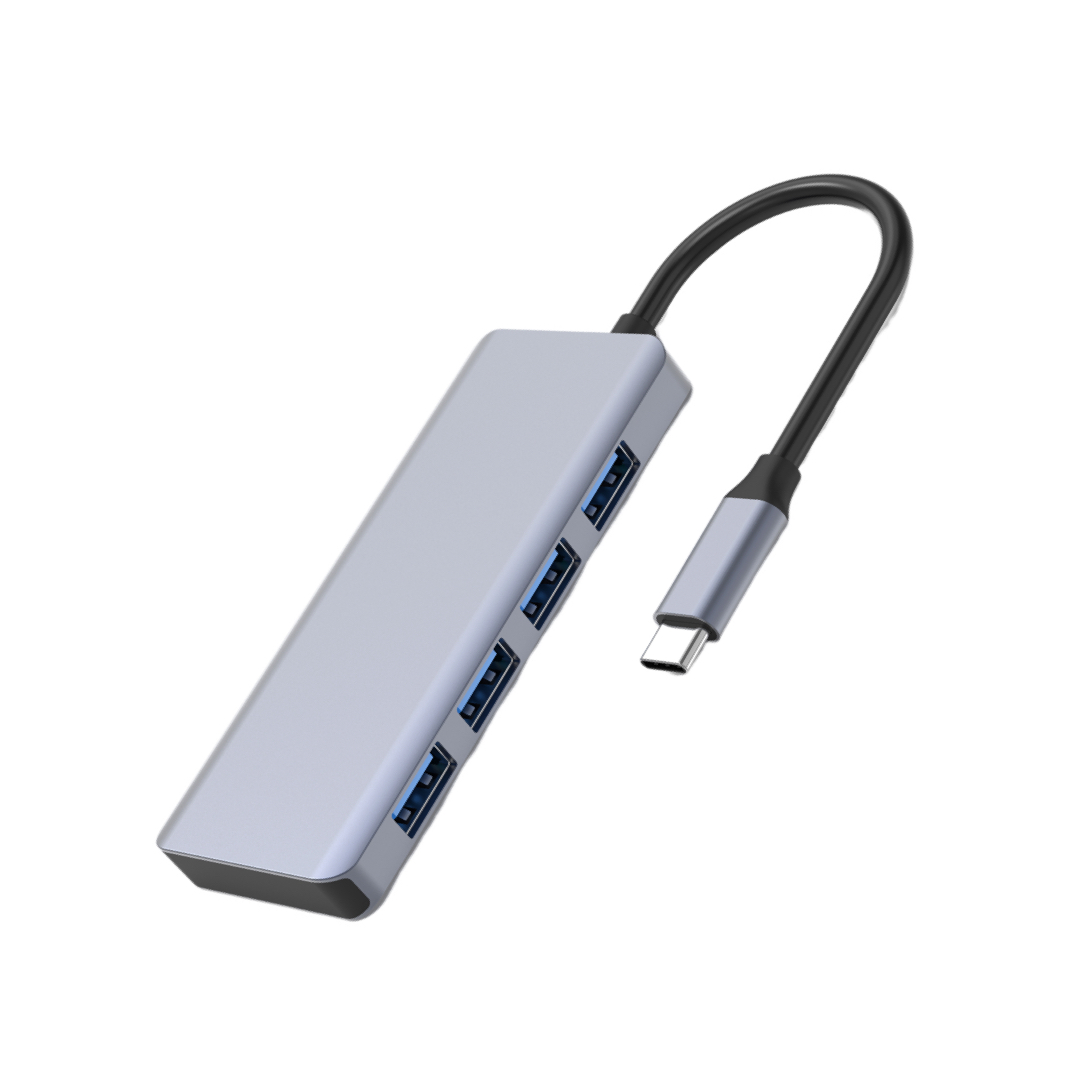
Everything You Need to Know about Connecting a Seven-Pin Hub to Your Computer Fan

Computer fans are essential components in keeping your computer cool and maximizing performance. Connecting a seven-pin hub to your computer fan can provide better control and monitoring of fan speed. In this guide, we will walk you through the step-by-step process of connecting a computer fan seven-pin hub.
1. Understand the Basics of a Seven-Pin Hub
A seven-pin hub is a device that allows you to connect multiple computer fans to a single hub, which is then connected to your computer's motherboard. This hub provides control over fan speed, as well as monitoring of fan performance. It is crucial to understand the various pins and connectors found in a seven-pin hub:
- Power pins: These pins provide power to the connected fans.
- Ground pins: Used to complete the electrical circuit.
- PWM pins: These pins control the fan speed using Pulse-Width Modulation techniques.
- RPM pins: These pins monitor the fan speed.
2. Gather the Necessary Tools and Components
Before starting the connection process, make sure you have all the necessary tools and components:
- Computer fan seven-pin hub
- Computer fan(s)
- Screwdriver
- Thermal paste (if needed)
- Anti-static wrist strap (recommended)
3. Step-by-Step Connection Process
Now that you have everything ready, follow these simple steps to connect the seven-pin hub to your computer fan:
Step 1: Ensure your computer is fully powered off and unplugged.
Step 2: Open your computer case by removing the side panel using a screwdriver.
Step 3: Locate an available fan header on your computer's motherboard.
Step 4: Connect the seven-pin hub to the fan header, aligning the pins correctly.
Step 5: Connect each computer fan to the available slots on the seven-pin hub.
Step 6: Securely fasten the computer fan(s) using the provided screws.
Step 7: Apply a small amount of thermal paste between the CPU and its cooling fan, if necessary.
Step 8: Once all the connections are made, close your computer case and plug it back in.
Ensure that the fans are spinning correctly and listen for any unusual noises. Additionally, you can use software or the BIOS to monitor and control the fan speed.
By following these steps, you can effectively connect a computer fan seven-pin hub to your computer, allowing for better cooling and performance optimization.
In Conclusion
Connecting a computer fan seven-pin hub is a relatively simple process that can greatly enhance the cooling capabilities and performance of your computer. Understanding the basics of a seven-pin hub, gathering the necessary tools, and following the step-by-step connection process outlined in this guide will ensure a successful installation. Enjoy improved cooling and optimize your computer's performance with a seven-pin hub today!


