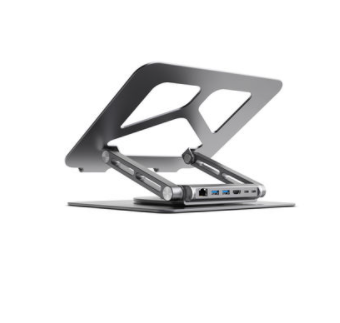
Elevate Your Laptop Experience with a Custom-made Laptop Stand

In today's digital age, laptops have become an integral part of our lives. Whether you are a student, professional, or just a casual user, spending long hours working on a laptop can often lead to discomfort and strain. However, with a laptop shelf stand, you can improve your posture, enhance airflow, and make your overall experience more comfortable. This article will guide you through the process of creating your very own laptop shelf stand.
Materials Needed
Before diving into the step-by-step instructions, let's gather the necessary materials for your DIY laptop stand:
- Wooden board
- Saw
- Drill
- Screwdriver
- Screws
- Sandpaper
- Paint or varnish (optional)
Step 1: Measuring and Cutting the Wooden Board
Begin by measuring and marking the desired dimensions for your laptop stand on the wooden board. Consider the width, height, and angle that will provide the most ergonomic position for your laptop. Once you have the measurements, use a saw to cut the wooden board accordingly.
Step 2: Creating the Shelf
Using the saw, cut a smaller piece of the wooden board that will serve as the shelf for your laptop. This piece should be slightly narrower than the main board's width. Next, determine the ideal angle for the shelf. You can experiment with different angles or use an existing laptop stand as a reference.
Step 3: Attaching the Shelf
Place the shelf on the main board at the desired angle and mark the screw holes. Then, using a drill, create pilot holes for the screws. Attach the shelf to the main board using screws and a screwdriver. Ensure a secure connection for stability.
Step 4: Finishing Touches
Sand the edges and surfaces of the laptop stand to achieve a smooth finish. This step is essential to prevent any splinters or rough edges. You can also choose to paint or varnish the stand to give it a personalized touch and protect the wood from wear and tear.
Voila! Your very own laptop shelf stand is ready to use. Simply place your laptop on the stand, adjust the angle if needed, and enjoy the improved comfort and productivity.
In summary, creating a DIY laptop shelf stand is a cost-effective and customizable solution to enhance your laptop experience. By following these simple steps, you can elevate your posture, reduce strain, and make long hours of laptop usage more enjoyable. Start building your laptop stand today and experience the difference!


