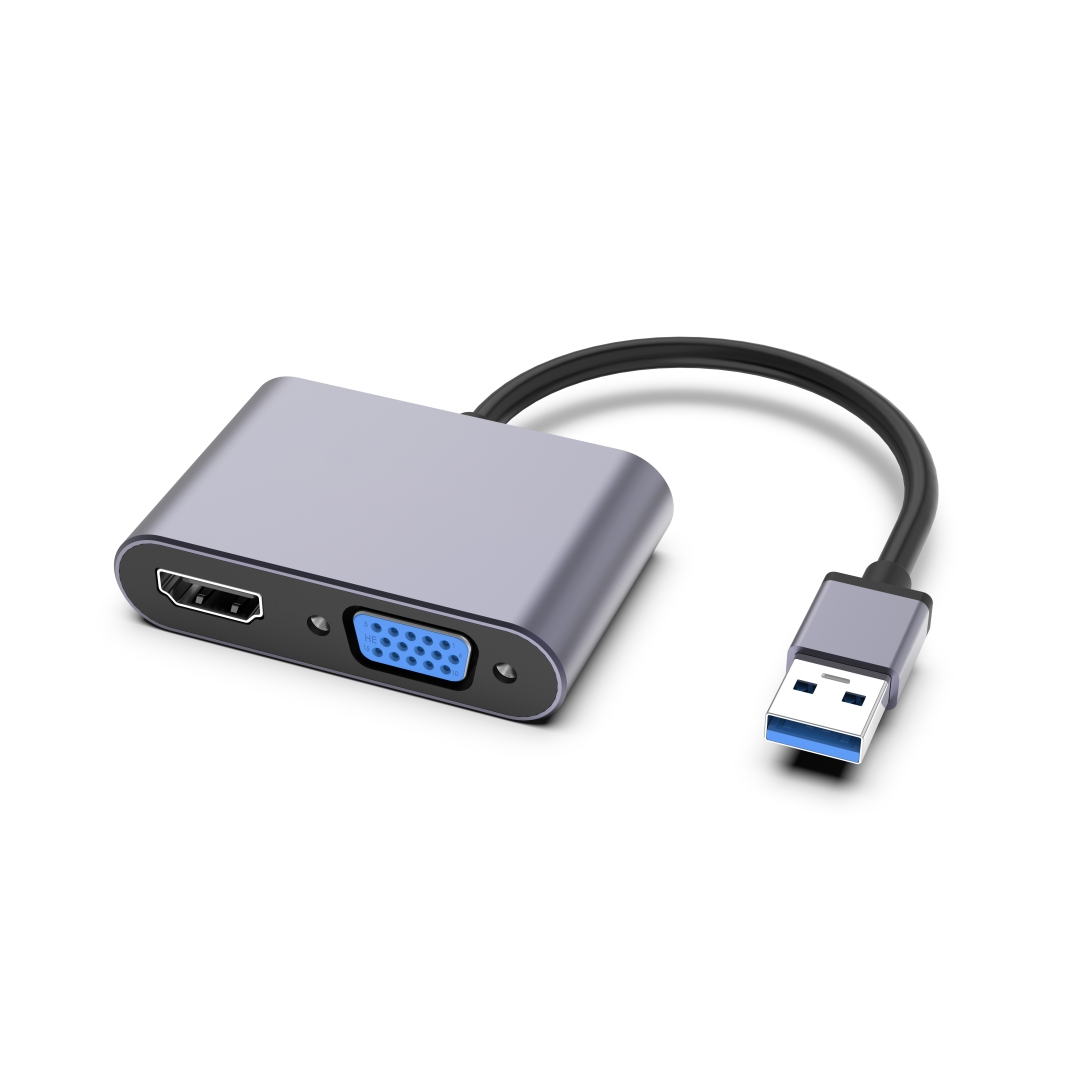
Simplified instructions for seamless USB hub installation

USB hubs are essential devices that allow users to expand the number of USB ports on their computers or laptops. In this comprehensive guide, we will provide step-by-step instructions for installing and setting up USB hubs, ensuring a hassle-free experience.
Step 1: Gathering the necessary materials
Before beginning the installation process, make sure you have all the required materials on hand. These include:
- A USB hub
- A USB cable
- A desktop or laptop computer
- An available USB port
Ensure that the USB hub is compatible with your computer's operating system to avoid any compatibility issues.
Step 2: Choosing an ideal location
Decide on the most suitable location for your USB hub. It should be close enough to your computer for the USB cable to connect easily but not obstruct any nearby ports or cables. Additionally, consider any future devices you may want to connect to the hub and allocate enough space accordingly.
Step 3: Connecting the USB hub
Follow these simple steps to connect the USB hub:
- Locate an available USB port on your computer.
- Take the USB cable and insert one end into the USB port on your computer.
- Connect the other end of the USB cable into the corresponding port on the USB hub.
- Ensure both connections are secure and snug.
Once connected, your computer should detect the USB hub automatically.
Step 4: Installing necessary drivers
In some cases, your computer may require drivers to be installed for the USB hub to function correctly. Follow these steps to install the necessary drivers:
- Visit the manufacturer's website and navigate to the Support or Downloads section.
- Locate the correct driver for your USB hub model and download it to your computer.
- Once downloaded, double-click the driver file and follow the on-screen instructions to install it.
- Restart your computer to complete the driver installation process.
Step 5: Testing the USB hub
After installation, it is essential to ensure that the USB hub is functioning correctly. To do this:
- Connect a compatible USB device, such as a mouse or keyboard, to one of the USB hub's ports.
- Check if the device is recognized by your computer and functions properly.
- If the device works without any issues, your USB hub is successfully installed and ready for use.
Conclusion
By following these step-by-step instructions, you can easily install and set up USB hubs on your computer. Remember to gather all necessary materials beforehand, choose an ideal location, and connect the hub securely. Additionally, install any required drivers and test the hub with a compatible device to ensure everything works smoothly. With a properly set up USB hub, you can conveniently connect multiple devices to your computer and enhance your productivity.


