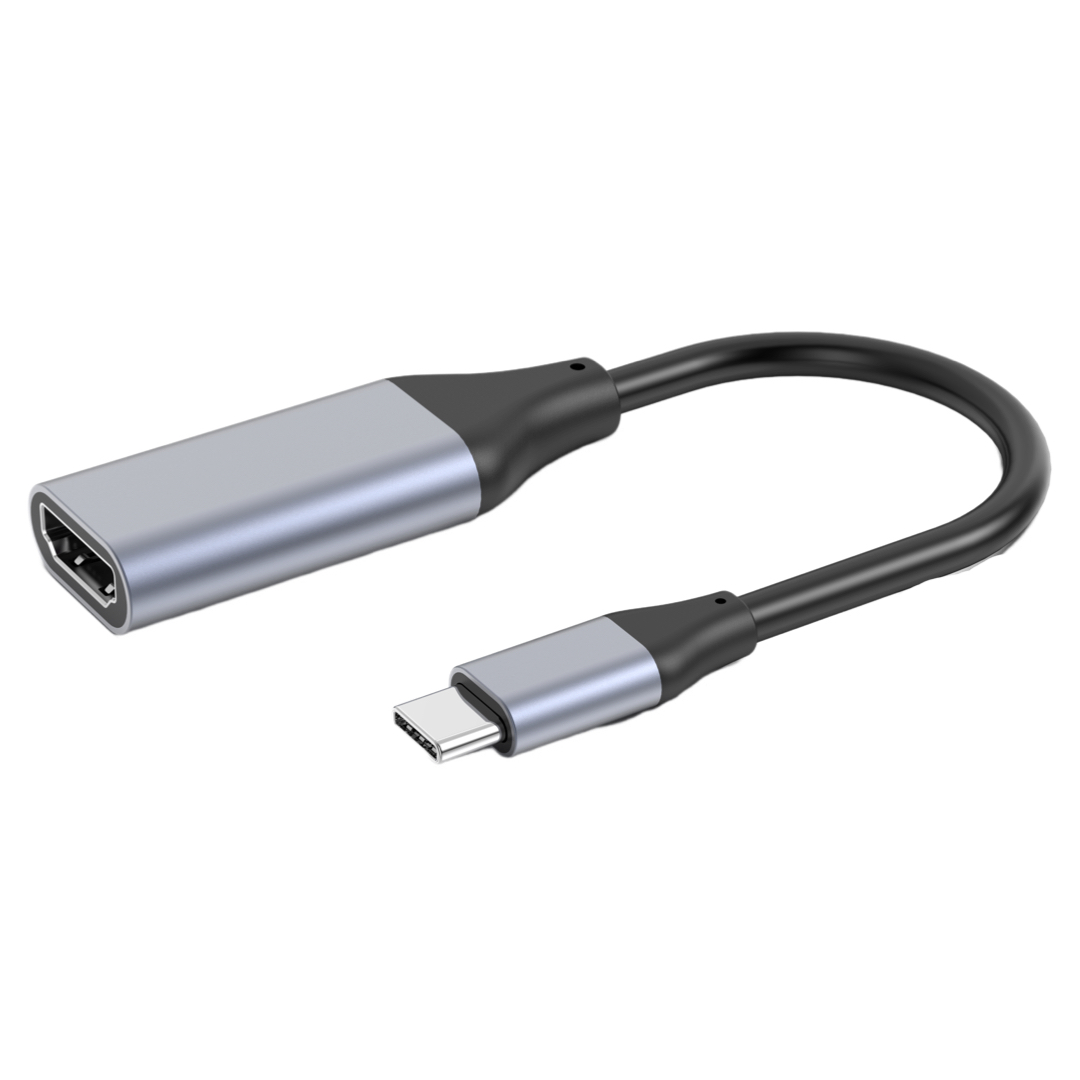
Key Steps to Set Up a Computer Docking Station

If you have recently purchased a computer docking station or are planning to do so, you may be wondering how to set it up effectively. A docking station offers a convenient way to connect your laptop or desktop computer to multiple peripherals and external devices. In this guide, we will walk you through the step-by-step process of setting up a computer docking station.
Step 1: Choose the Right Docking Station
The first step is to choose a docking station that is compatible with your computer and meets your requirements. Consider factors such as the number of USB ports, video outputs, audio inputs/outputs, and Ethernet connectivity. Research different models and read customer reviews to make an informed decision.
Step 2: Connect the Docking Station to the Power Outlet
Once you have selected the docking station, connect it to a power outlet using the provided power adapter. Ensure that the power adapter is securely plugged in, and the docking station's power LED light is illuminated.
Step 3: Connect the Docking Station to Your Computer
Connect your computer to the docking station using the appropriate cable, such as USB-C, Thunderbolt, or HDMI. Some docking stations may require specific cables, so refer to the user manual for guidance. Ensure that the cables are inserted firmly into the respective ports on both the docking station and the computer.
Step 4: Connect External Devices to the Docking Station
Now it's time to connect your desired external devices to the docking station. Depending on the available ports on the docking station, you can connect peripherals such as monitors, keyboards, mice, printers, external hard drives, and speakers. Simply plug the cables from these devices into the corresponding ports on the docking station.
Step 5: Install Any Required Drivers or Software
Some docking stations may require you to install specific drivers or software on your computer for optimal functionality. Check the manufacturer's website or the included documentation to determine if any additional software needs to be installed. Follow the provided instructions to complete the installation process.
Step 6: Configure Display Settings
If you have connected external monitors to the docking station, you may need to configure the display settings on your computer. Go to the "Display Settings" in your computer's operating system and adjust the resolution, orientation, and other relevant settings according to your preferences.
Step 7: Test the Setup
Once all the connections and configurations are complete, it's time to test the setup. Ensure that all the devices connected to the docking station are functioning correctly. Check if the monitor(s) display the content from your computer, if the keyboard and mouse respond, and if other devices are detected by your computer.
In conclusion, setting up a computer docking station involves carefully selecting the right model, connecting it to a power outlet, connecting it to your computer, and then connecting external devices. Additionally, installing any necessary drivers or software, configuring display settings, and thorough testing are important steps to ensure a successful setup. By following these steps, you can enjoy the convenience and enhanced productivity offered by a computer docking station.


